
Deadshot is one of Batman’s fiercest foes and is known for almost never missing a shot. And with how much the Arkham series covers Batman’s rogue gallery, it’s no surprise that he makes an appearance in Batman: Arkham City shot in the dark side mission.
In Batman: Arkham City, Deadshot isn’t a part of the main story. However, he still makes an appearance in a side mission that requires an investigation to be completed. And when you finally get to the end – there’s a stealth fight too which is very satisfying to finish.
Batman: Arkham City Shot in The Dark may sound like the name of a cool Batman graphic novel – but surprisingly, it’s the name of the side quest in which you take down Deadshot.
Though it’s not a complicated quest – if you’re short of time, it can be quite a nuisance to find every place on the map. Don’t worry, we’re here to help with a complete guide the Batman: Arkham City’s Short in the Dark Side quest. Let’s begin!
Table of Contents
Batman: Arkham City Shot in the Dark Complete Guide
Batman: Arkham City’s Shot in the Dark quest is split into different steps. The reason behind this is that he kills multiple people – and it’s your job to track him down.
Deadshot’s First Victim
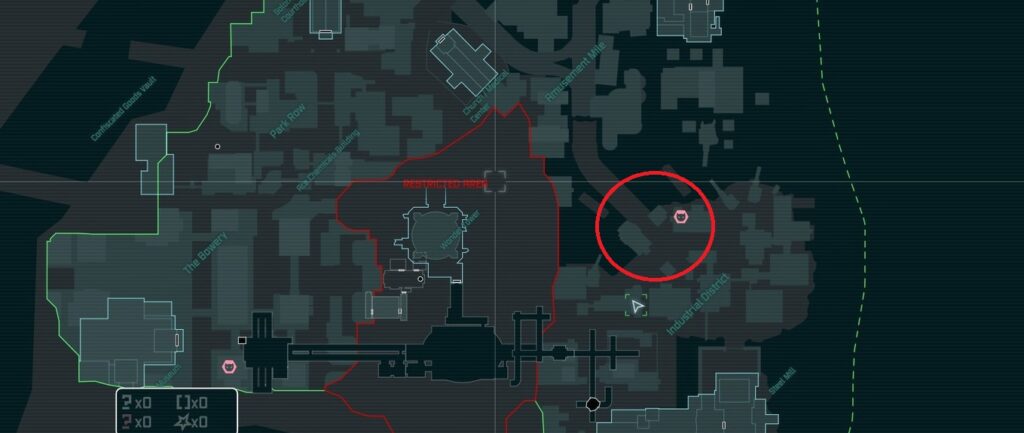
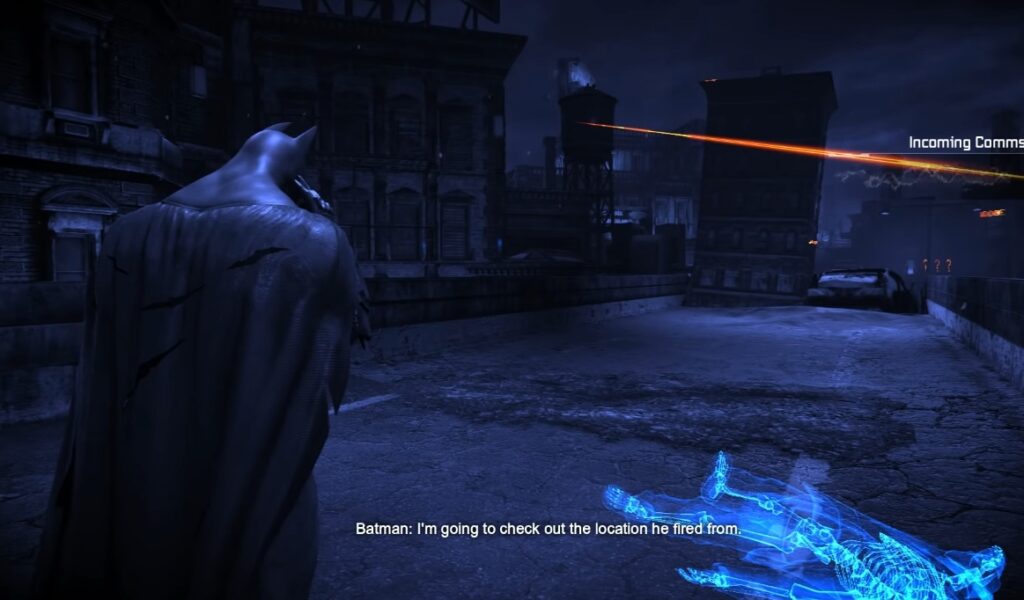
The mission becomes available when you leave the Steel Mill in the main storyline of the game. When you see your map, you will see an S.O.S. signal in the Industrial District area. Head over to it and you’ll find a Political Prisoner to talk to.
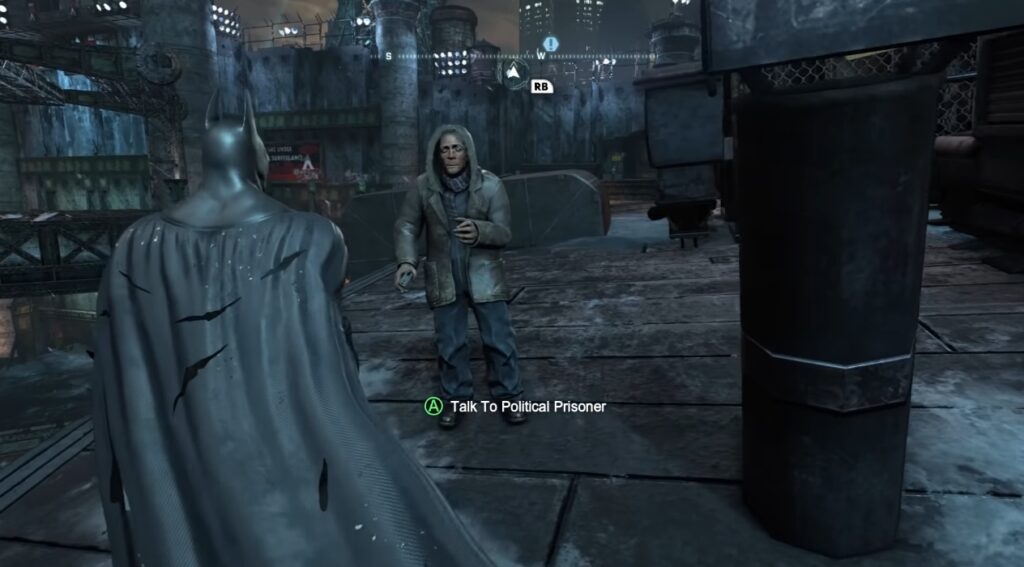
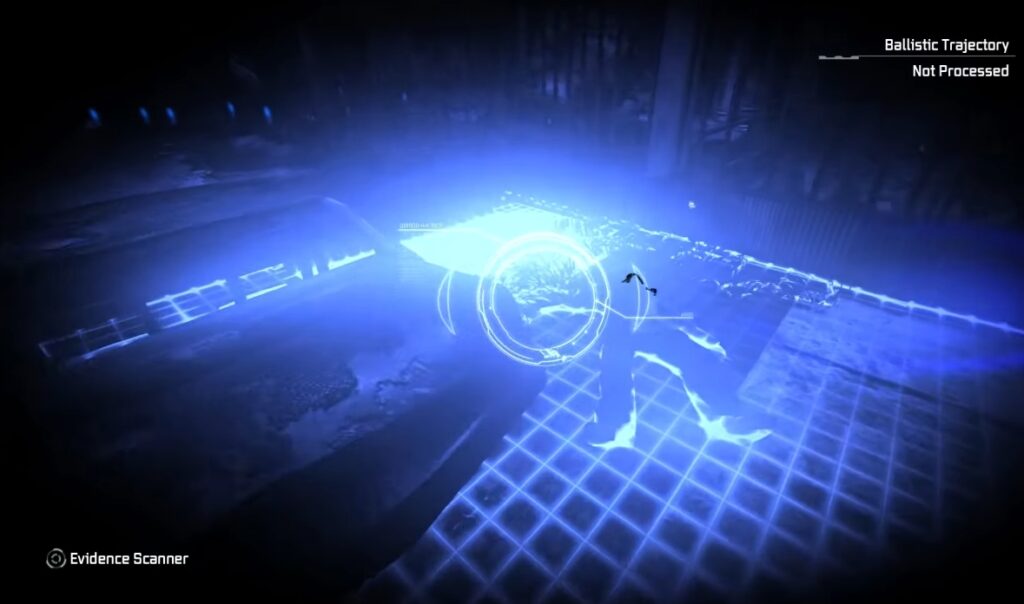
Once you’ve talked to the NPC, he will get shot. Then, you have to start an investigation and track the source of the shot.
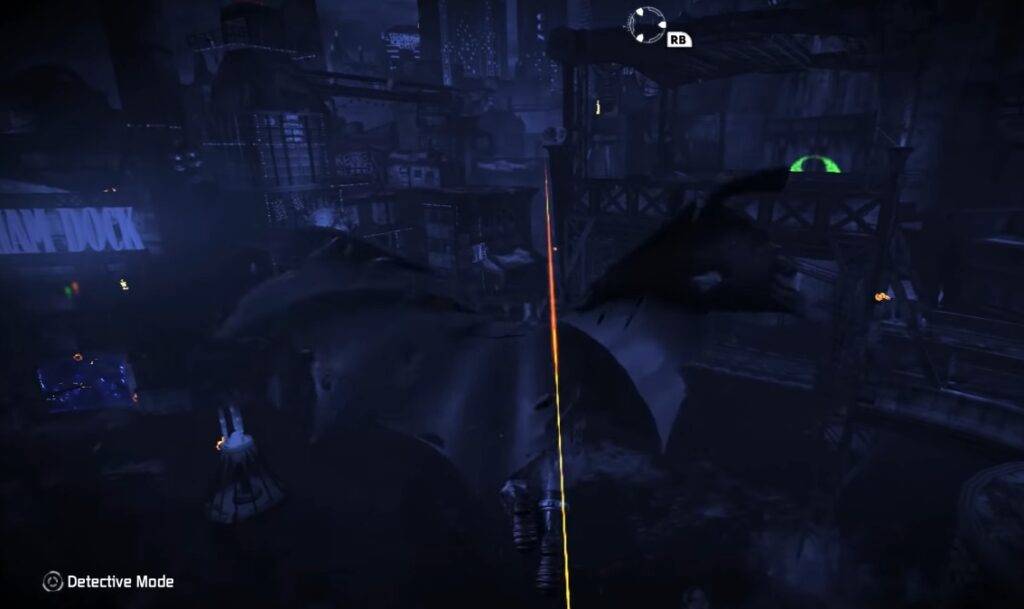
Once your investigation of the bullet’s source is complete, you can go to the next victim of Deadshot to continue this quest.
Deadshot’s Second Victim
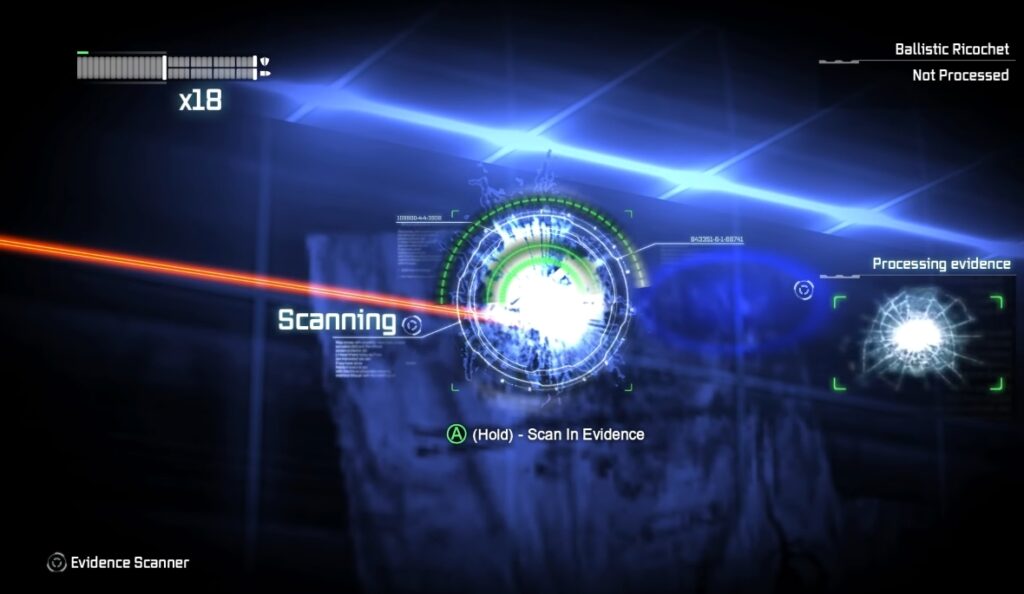
When you go to the place highlighted on the map, you’ll find a body. Going into detective mode will start an investigation. And you have to find the source of the gunshot again like last time.
An important thing to note here is that this victim won’t be available unless you advance in the main storyline. He will randomly appear on the map when the game decides it’s time to allow the player to continue Arkham City’s Shot in the Dark quest.
Once you’ve completed this task, Batman will find a great clue and comment on Deadshot getting sloppy. After this, it’s time to go to the next spot.
Deadshot’s Third Victim

Similar to the second victim, you’ll need to progress the main story (or side missions) before you can find the third victim. When the time is right, he’ll appear on the highlighted area on your map.
The goal is simple again, you need to investigate the crime scene to figure out what happened. You may have to fight a few enemies before you can get here, but they’re regular and weak. By this point, the Oracle will give you more information about the motive of the murders too.
Once the investigation is complete, you can proceed with the next step of the Deadshot side quest in Batman: Arkham City.
Finding Deadshot’s Location
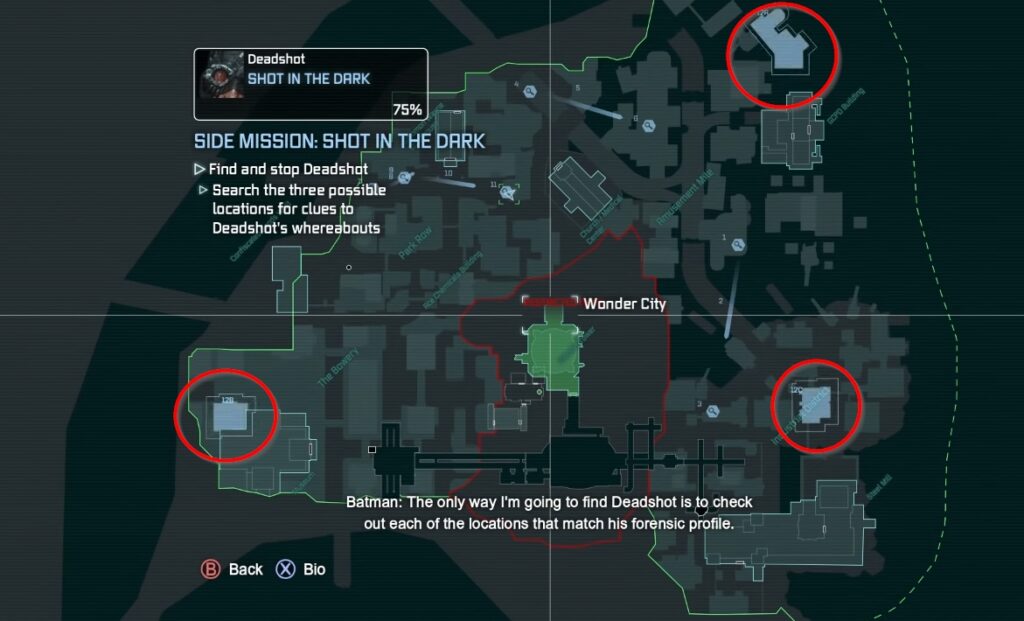
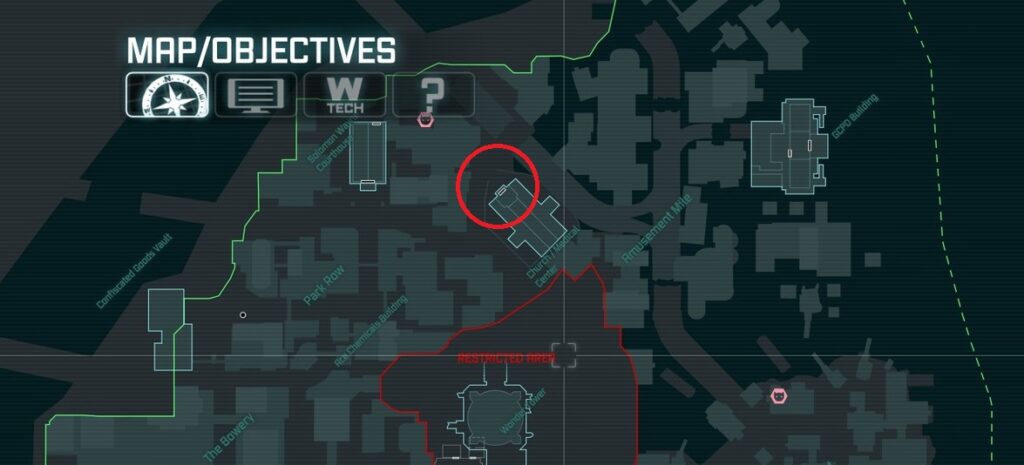
After you’ve investigated the third victim, Arkham City’s Shot in the Dark mission will give you three possible locations on the map. You have to investigate all three of them, and you will find Deadshot in the right one. The correct location is the building that you can find on the North of GCPD.
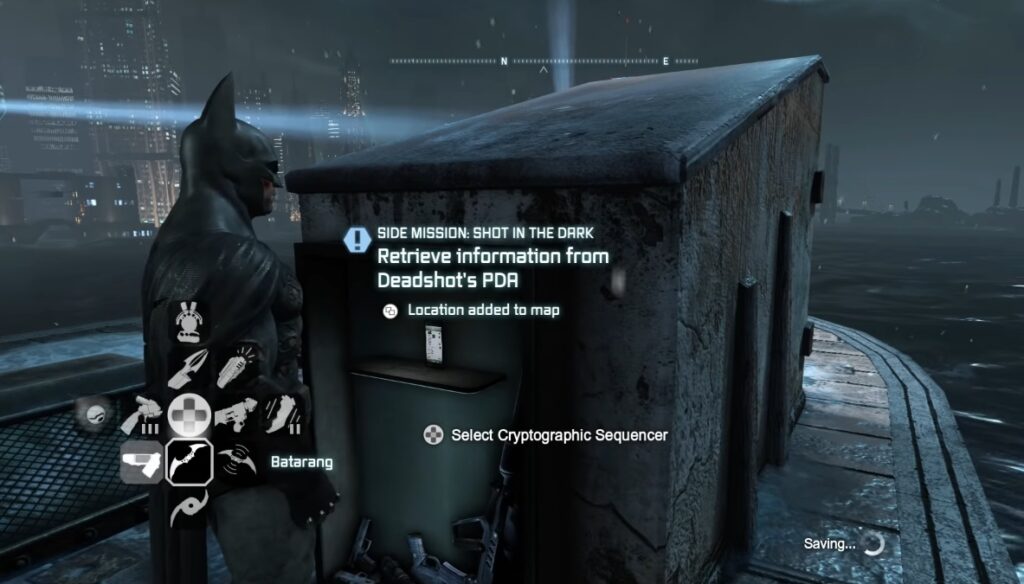
You will find a device owned by Deadshot that you can hack here. Use your Cryptographic Sequencer to hack it, and then you’ll find Deadshot’s location.
The game will give you 3 minutes to reach him before he kills a fourth victim.
Fighting Deadshot
This is the last step in the side mission.
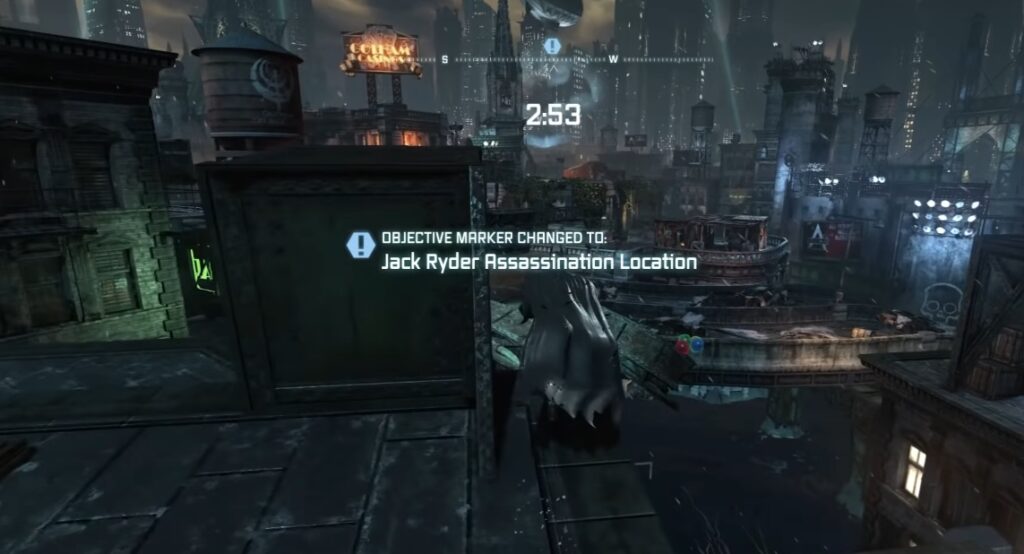
At this point, you don’t need to follow maps or investigate. The game will tell you where to go and you have to reach the location on time.
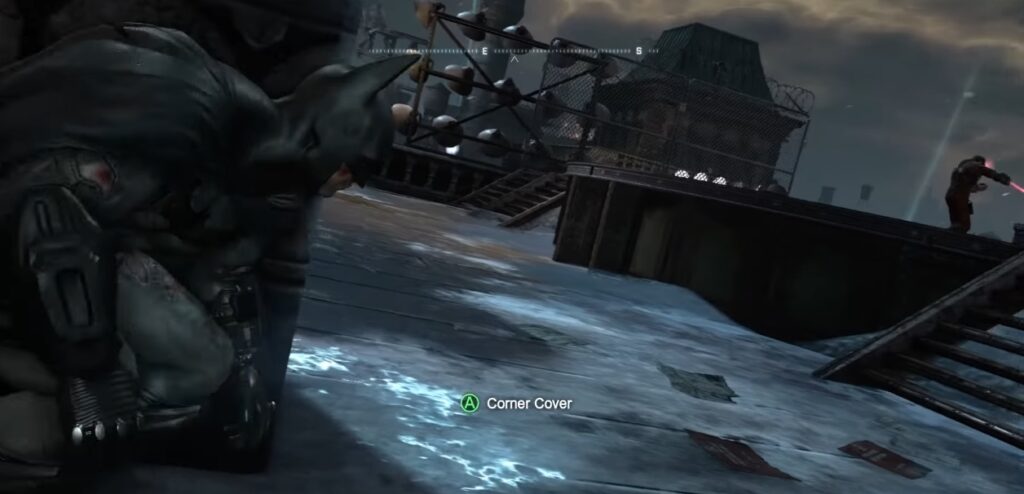
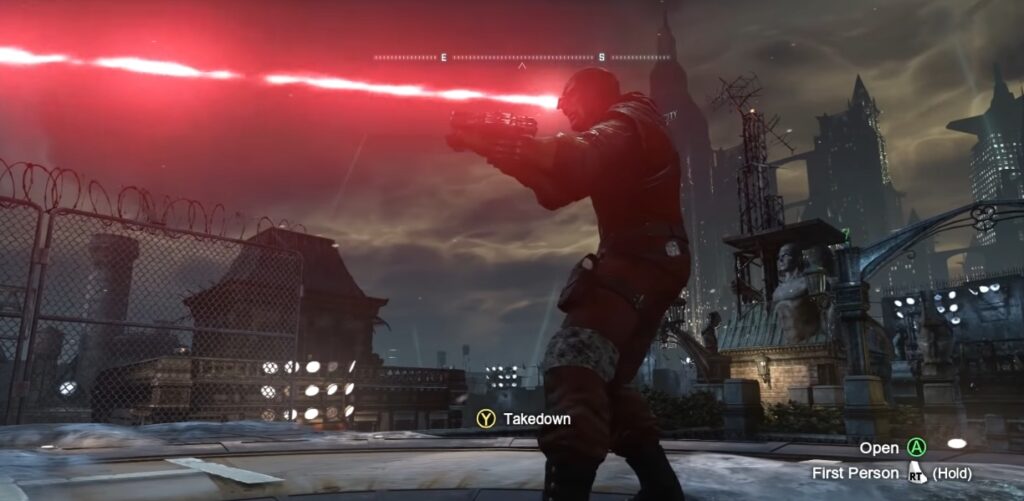
Once you’re there, you just have to sneak up on him by using the environment as your cover. Go under the vent below where he’s standing. Then use a Takedown Attack and you’ll finally defeat him.
Conclusion
And that’s it. You’ve now completed Batman: Arkham City’s Shot in the Dark Side quest, and Deadshot is locked up for good. Unlike other villains who returned in Batman: Arkham Knight, Deadshot was not as lucky. This makes this the last time you have to stop him in the story.
But if you’re playing the games in release order – then this is not the last you’ll see of Deadshot. Because he is available in a side quest in Batman: Arkham Origins too and the fight there is much more exciting.
See also: