Mac users struggle mightily. Despite having some of the most advanced hardware and flawless, reliable software, there are few games for it to run. However, this does not preclude you from running PC games on an Apple-made device just because most developers aren’t releasing their games for macOS. Just a little finesse is needed.
Of course, you are here to get an answer to your question of “how to play windows games on mac.” In this blog, we’ll provide you with multiple answers to your question, and you can choose your favorite solution.
Unless you have an ARM-based Mac, which won’t support Boot Camp, you should install Windows on your Mac using Boot Camp if you’re serious about getting the most out of your hardware when playing PC games. The performance is superb, and it’s the simplest approach to get games running. Let’s just look out for details of “how to play windows games on mac.”
Table of Contents
5 Solutions To “How To Play Windows Games On Mac”
Over time, numerous methods for using a Mac to access Steam games were developed. Not all of them are equally effective, either. We’ve arranged this list logically, going from the best option to the least appealing option of “how to play windows games on mac.”
Bootcamp
The most popular method of installing Windows on a Mac without using a virtual machine is Apple’s Boot Camp. Instead, you will have the option of booting either macOS or Windows 10.
Simply implement Boot Camp by following these steps.
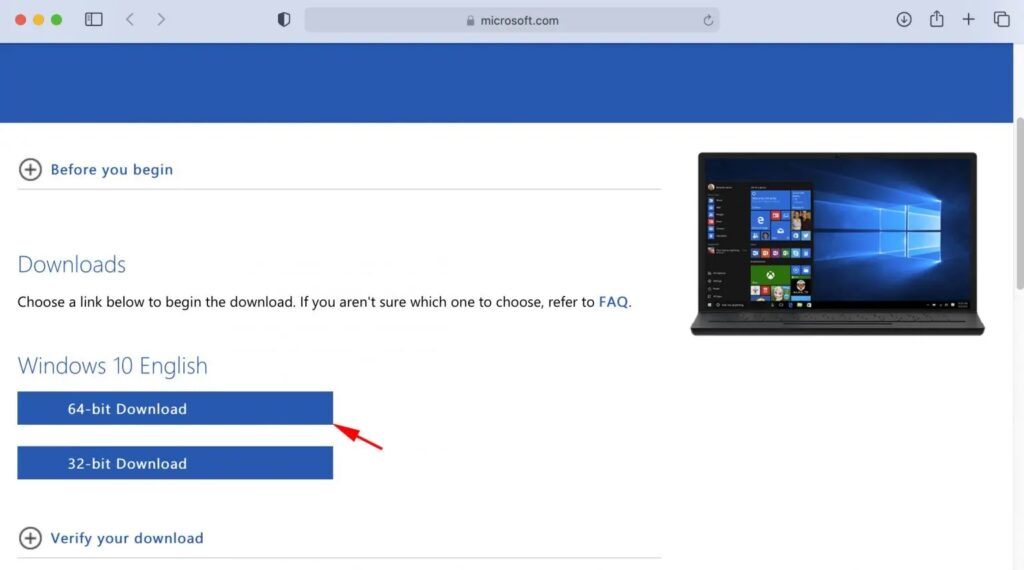
- Obtain Windows 10. Microsoft offers a free Windows 10 Disk Image (ISO) download that you can use without a product key. Simply choose the desired version and language, then click Confirm. Finally, be sure you get a 64-bit version of the software.
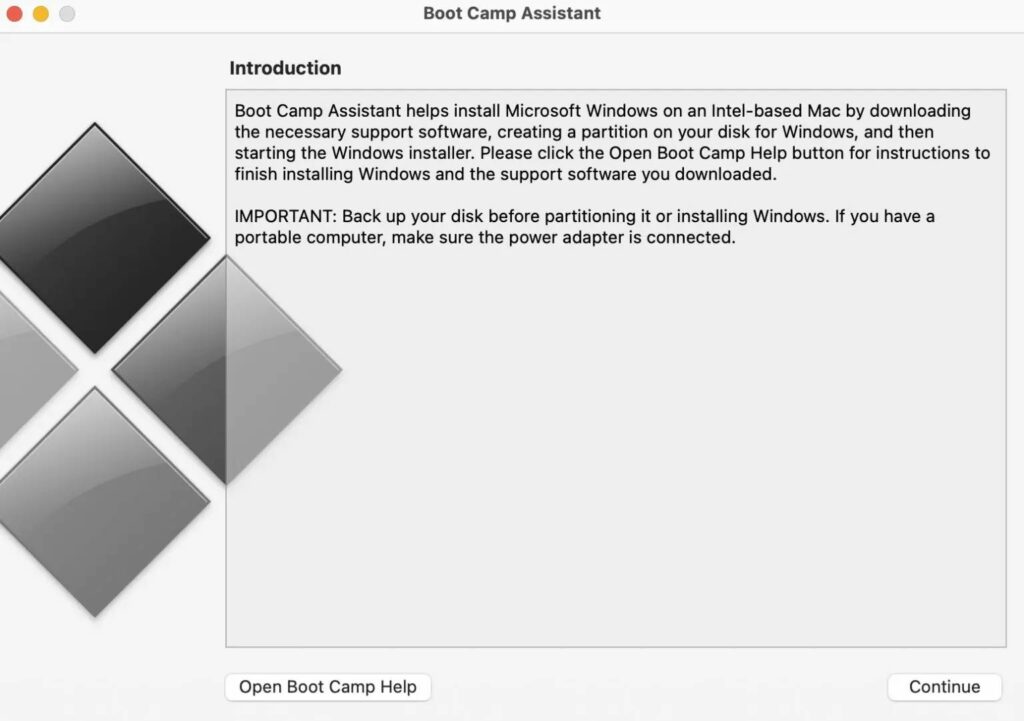
- Open Boot Camp Assistant in Spotlight. This tool will help you install Windows 10 by instantly locating its ISO file. Select the Windows partition’s size by pressing Continue. Remember that some video games take up a lot of storage space. The partition size cannot be changed afterward. When satisfied, select Install.
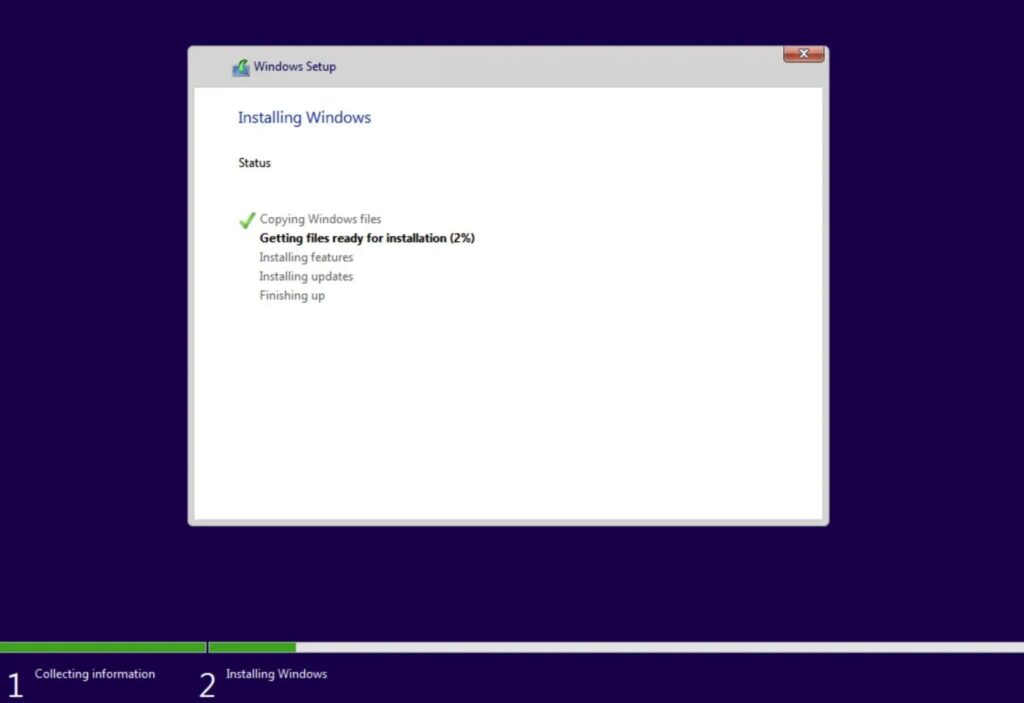
- Install Windows 10. Select your language and click Next after you’ve reached the main screen. Choose Windows 10 Home edition and then click I don’t have a product key. Once the installation is complete, Mac will restart and launch Windows.
- Install Drivers. You ought to now have Boot Camp open on your desktop. You should complete this installation because it will update your Mac’s drivers.
Note: Boot Camp can be found by heading to This PC > OSXRESERVED if it didn’t open automatically.
GeForce Now
GeForce Now has a sizable selection of games from the likes of Steam, Battle.net, and Uplay. Since the majority of them are already cached, you can start playing your favorite game right away. GeForce Now is available for free, but you must wait in line and are only allowed one-hour sessions. You will need to purchase a Priority Membership ($10) if you want to continue playing.
GeForce Now may be set up quite quickly.
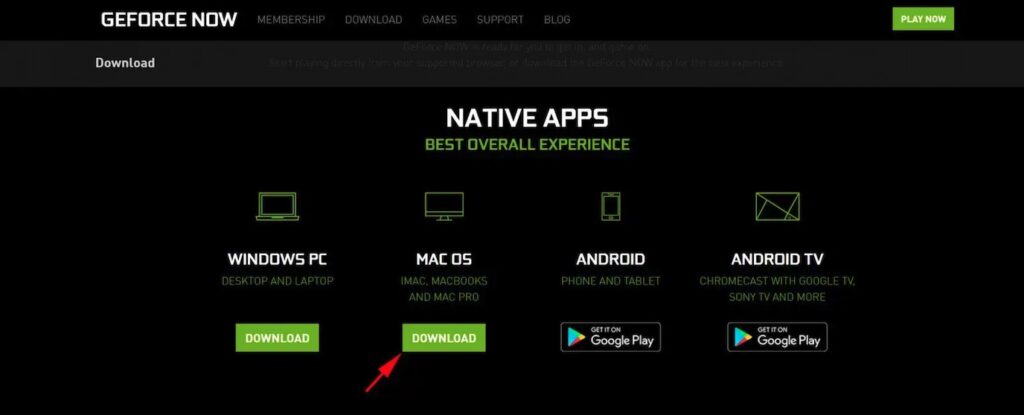
- Visit the Nvidia website. You must either sign up for a free account or sign in using Google or Facebook before you can download GeForce Now.
- Install GeForce now on Mac OS by downloading it.
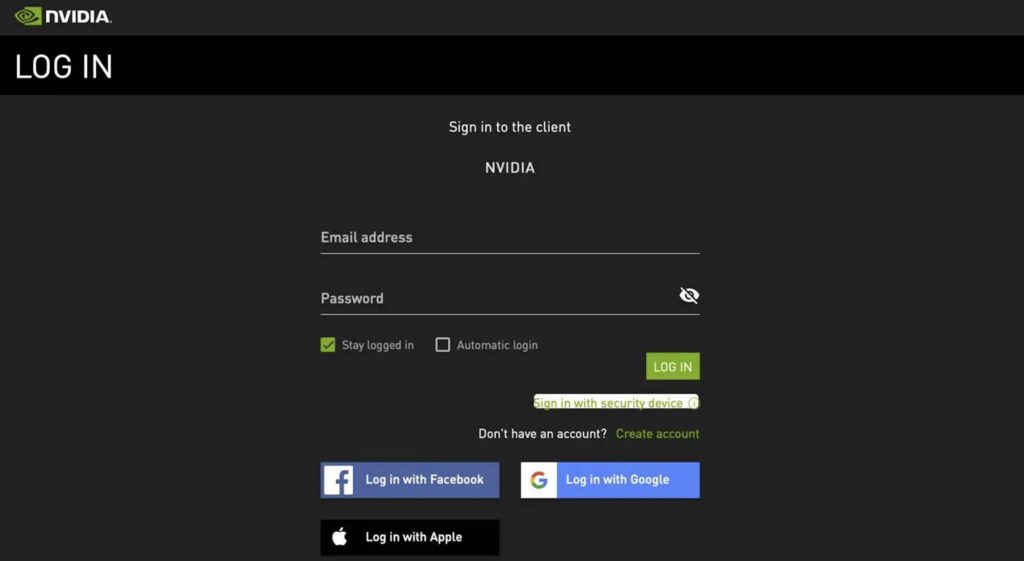
- Register with Your Account. A browser page will open when you click login. To finish this procedure, only click on the Nvidia logo in the center.
- Search for games. There are several games available on GeForce Now. Before you can play a paid game, you must sign into Steam or another service.
- Start the game.
WineBottler
Wine is a fantastic alternative for running Windows Steam games and one of the top answers to your question of “how to play windows games on mac”. This compatibility layer, which can run many Microsoft apps, is not an emulator. Its central hub, WineBottler, is where you can easily download all of the well-known Windows applications. The fact that it is absolutely free is the finest part.
This is how WineBottler works to allow Mac users to play PC games.
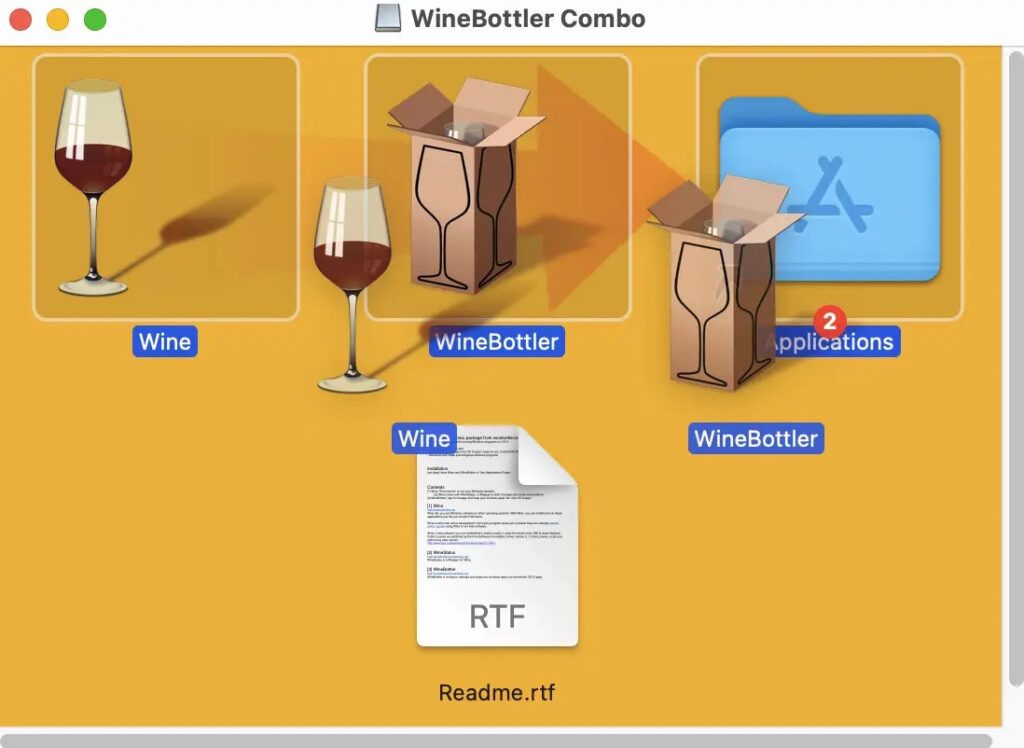
- Go to WineBottler and get the app. Purchase a stable version as opposed to the most recent.
- Set it up. Simply launch the download location, drag Wine and WineBottler to the Applications, and then you’re done.
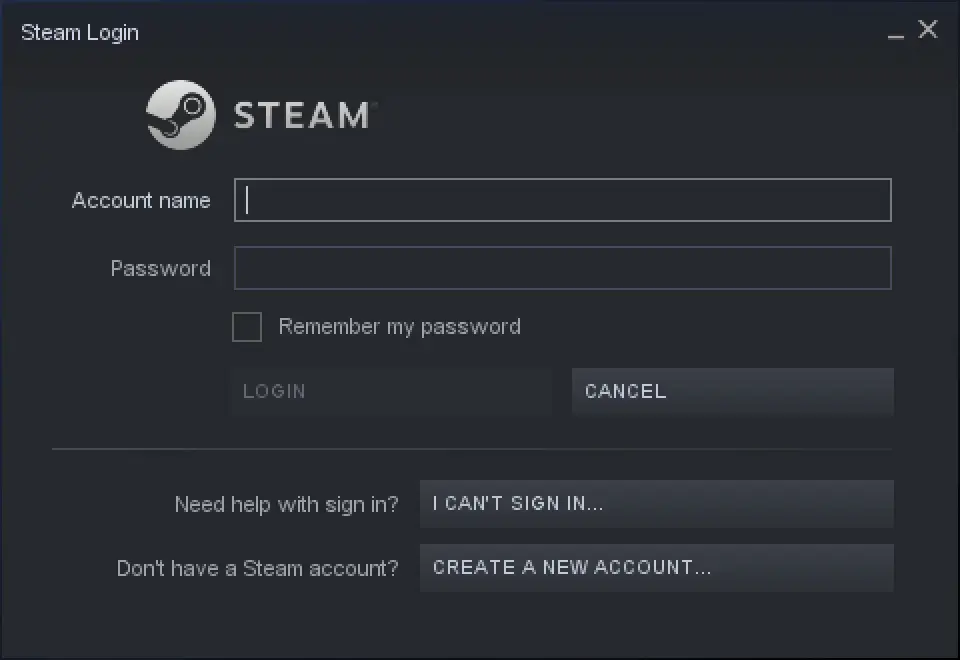
- Open WineBottler. Locate Steam by clicking the Games tab and then clicking Install.
- Join Steam now. Making an account is simple and just takes a minute.
- Obtain Games in the Store. It’s time to browse the store and download the games you want to play right now. You don’t even have to invest any money because Steam also gives away many top independent games.
- Play! When you are ready, go to your library. Click Play after selecting your game.
Note: This will considerably restrict your options because WineBottler can only launch Windows games that are compatible with Wine.
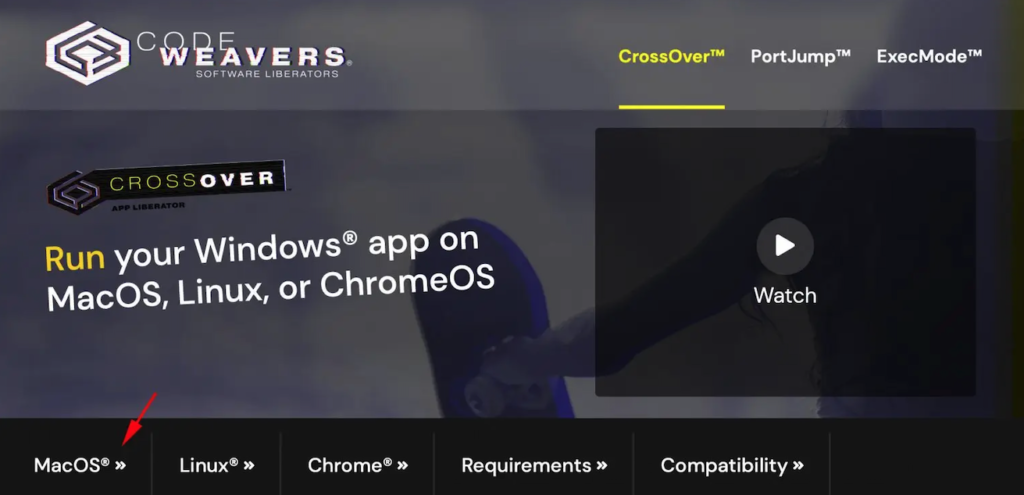
CrossOver Mac
Another Solution to your query of “how to play windows games on mac” is CrossOver Mac. Another application that uses Wine is CrossOver. It is more practical than a WineBottler because of its sleek UI, but it is a purchased item. Although there is a trial edition available for 4 days, CrossOver costs $40. It is the only program, along with Parallels, that enables Windows games to run on current Macs equipped with M1 processors.
With CrossOver, running PC games on a Mac only requires three steps.
- Install and download CrossOver.
- Try Steam. Click Install a Windows Application after launching the application. Look for any software you want to download in the search field, such as Steam and Origin. Just click install and carry out the steps.
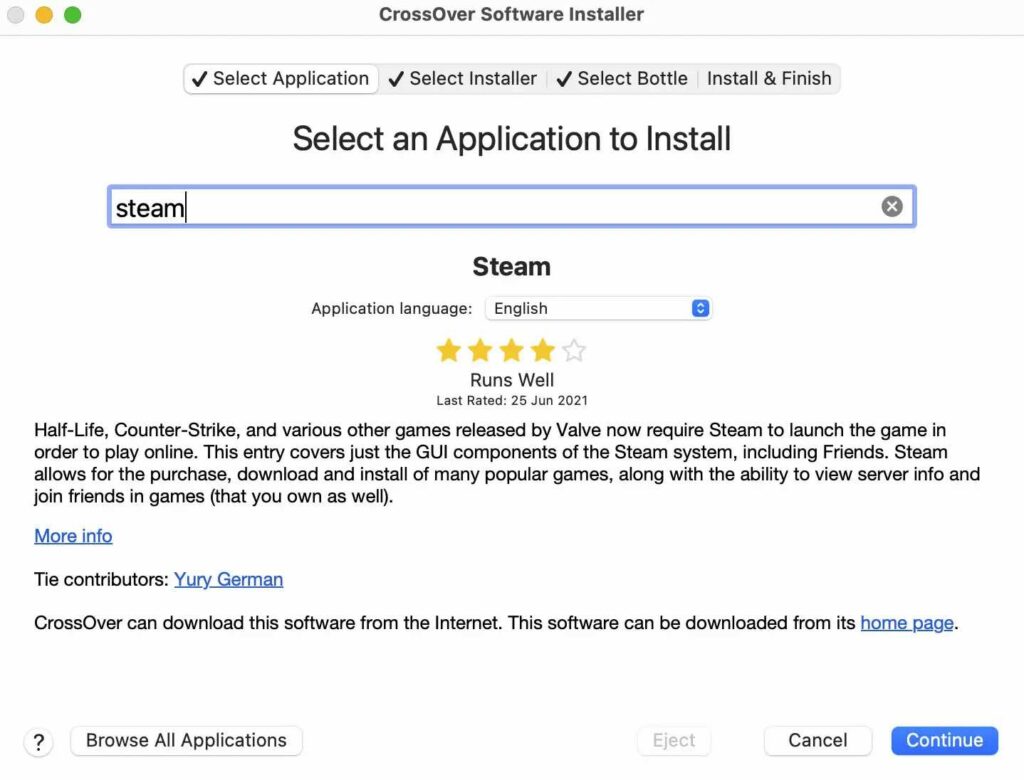
- Look for the Games You Want to Play. All of the Windows games should be accessible when you launch Steam. Start them from the Library and download the ones you prefer.
Note: CrossOver is useful, but it won’t work with every game. Before making a purchase, it is important to review this list of supported titles.
Use A Virtual Machine
Given that virtual computers consume more resources, this may not be the ideal approach to answer how to play windows games on mac. The advantage is that you can switch between the two operating systems at any time without having to restart your Mac.
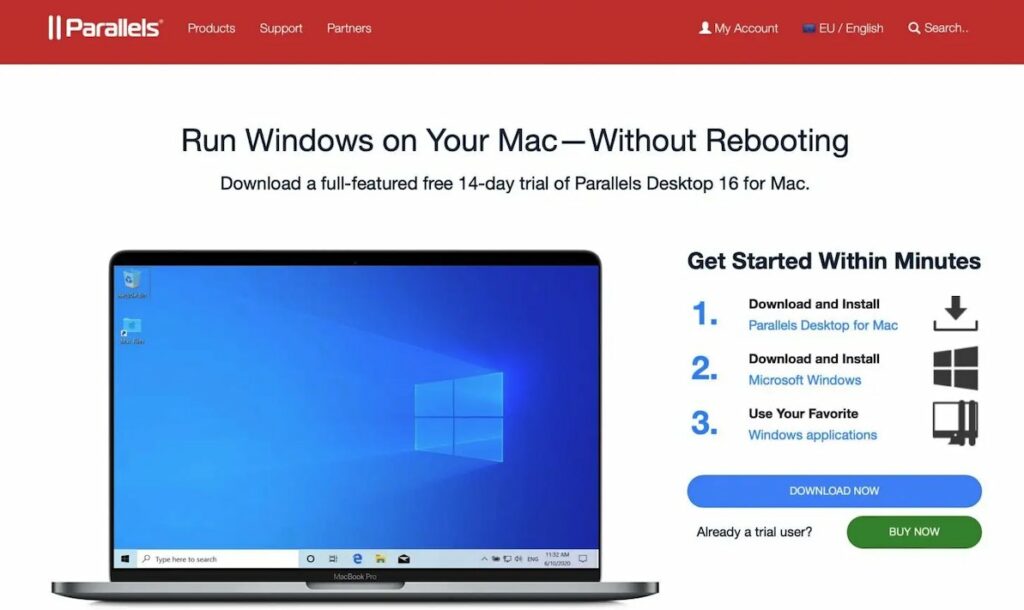
There are two free virtual machines that are noteworthy: Parallels and VMWare Fusion.
Here is a setup guide for Parallels.
- Go to Parallels and sign up for a new account.
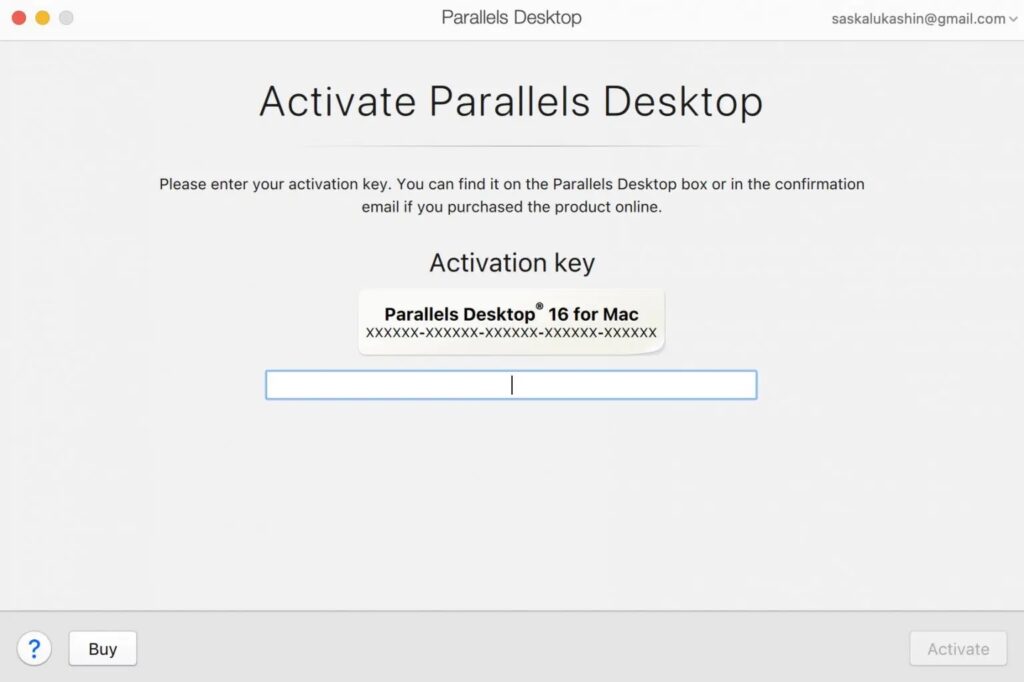
- Download the app. Visit the Parallels Desktop for Mac Technical Preview page from Dashboard. To get the most recent version of Parallels, scroll down to the Install and Activate section. You can also find an activation key underneath it, which you will need later.
- Install Windows. Ensure to get the ARM-ed version of Windows if you have an M1 Mac. You won’t be able to build a virtual machine otherwise. Additionally, you must register to become a Windows Insider, which is free.
- Start the Parallels Windows installation. Return to the Installation Assistant after the download is complete, then select Continue to set up a virtual machine. When Parallels detects Windows 10 automatically, simply click Create.

- Key in your activation. To continue configuring Windows 10 with Parallels, paste your website key and click “Activate.”
- It will be prepared for usage in a short while.
- Go to Steam. Launch Microsoft Edge, then go to Steam. Install it and, if required, register it.
Final Words
You can see that there are numerous options for running PC games on a Mac. The ideal option for you will depend on your preferences, the hardware you have, and the budget you have available.

![Destiny-2-Stuck-On-Initializing-How-To-Fix-Error-[2023]](https://www.legendspit.com/wp-content/uploads/2023/04/Destiny-2-Stuck-On-Initializing-How-To-Fix-Error-2023-600x450.jpg)